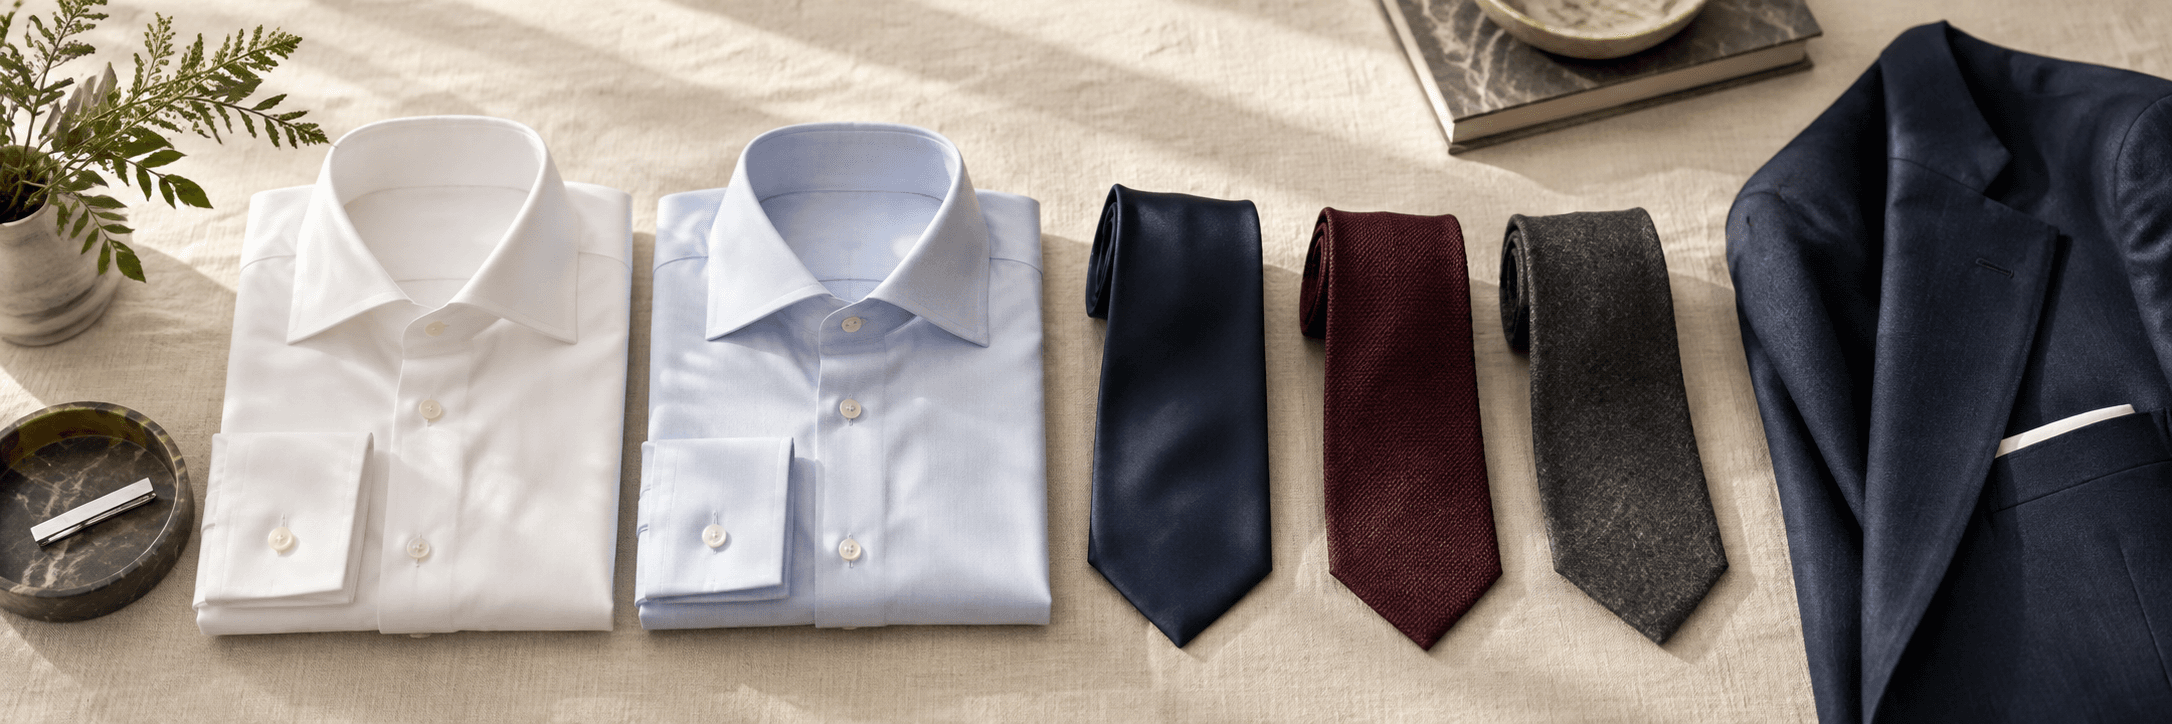
A good tie brings a shirt and jacket together. You do not need a complicated knot or a drawer full of options: start with the right length, a width that suits your lapels, and a color that works with the clothes you already own.
The quick answer: Let the tie tip reach your belt buckle or waistband. Balance its width with your lapels, choose a knot that fits the collar, and keep at least one part of the shirt-and-tie combination simple.
Start with the length and width

A well-chosen tie starts with proportion. Tie it while wearing the trousers you intend to wear: the pointed tip should reach the belt buckle or the top of the waistband if you are not wearing a belt. A small difference is fine; a large gap above the trousers or a blade hanging well below the buckle usually looks accidental.
If the front blade finishes too short, begin again with more length on the wide end. If it is too long, leave a little less. Make small adjustments rather than changing the entire knot each time. The narrow blade normally sits behind the wide one. Use the keeper loop if it reaches naturally; do not force the front blade out of shape to tuck it through.
Choose the width alongside your jacket. A tie around 3 to 3½ inches at its widest point is a useful starting range for a conventional tailored jacket, but it is not a universal rule. Slimmer lapels suit a narrower tie; substantial lapels can carry a wider one. Look at the whole outfit in a mirror instead of choosing by a trend or by body size alone.
Extra-long ties can help if your height, neck size or preferred knot uses more fabric. A bigger knot also consumes more length. If an otherwise suitable tie always finishes too short, try a four-in-hand before replacing it.
Choose a knot that fits the collar
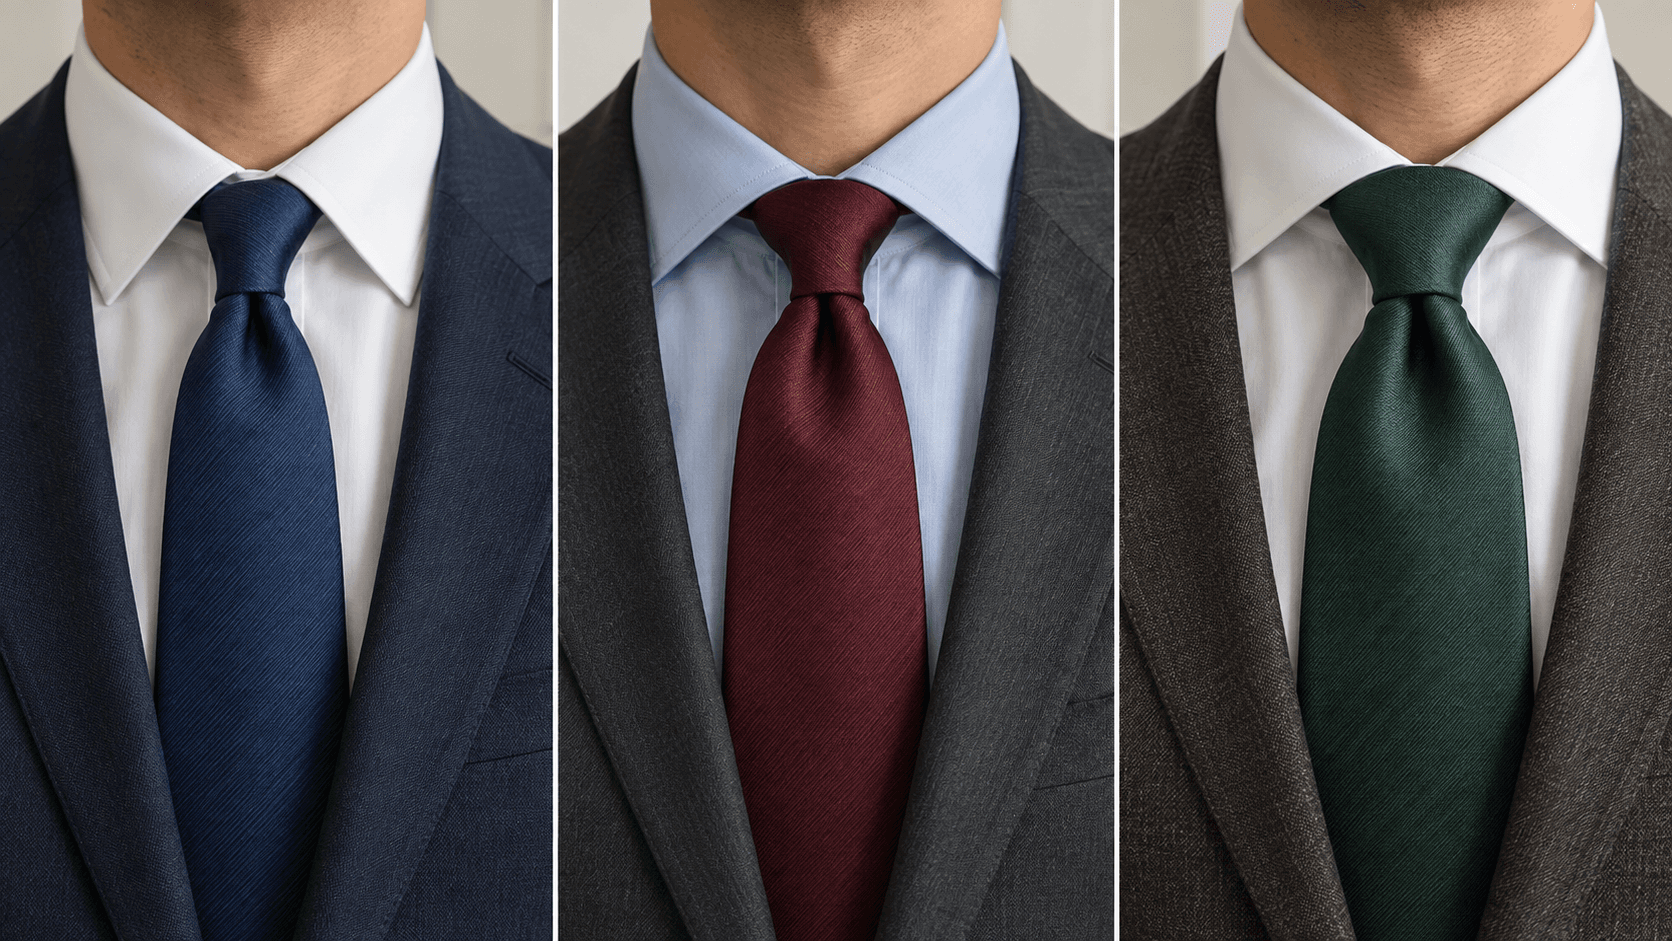
The knot should sit between the collar points without pushing them outward. Button the collar before tightening, then bring the knot up gently. If the neck feels uncomfortable, check the shirt size rather than leaving a tight collar half-fastened beneath the tie.
A four-in-hand is a strong everyday choice: compact, slightly asymmetric and easy to use with most point and moderate spread collars. It also keeps a thick tie from becoming too bulky. A half-Windsor gives a more balanced triangular shape when you want a little more presence. A full Windsor creates a fuller knot and works best when the collar has enough space and the tie is not already very thick.
Fabric changes the result. A loosely woven wool tie can make a substantial four-in-hand, while a thin silk tie can make a surprisingly small knot. Choose by the finished proportion, not the knot name alone. The examples show scale and collar balance; small variations are part of wearing a real tie.
How to tie a four-in-hand
Face a mirror with your collar raised and the tie seam facing your shirt. Put the wide blade on your right, hanging lower than the narrow blade. The starting difference depends on the tie and your proportions, so expect a practice attempt.
- Cross the wide blade over the narrow blade, toward your left.
- Pass the wide blade behind the narrow blade and bring it back to your right.
- Bring the wide blade across the front again, toward your left. Keep a finger under this front band so it stays slightly open.
- Bring the wide blade up behind the knot and through the opening around your neck.
- Feed the wide blade down through the front band you kept open.
- Hold the narrow blade and slide the knot upward gently. Shape the front with your other hand, lower the collar and check the length.
For a dimple, pinch the wide blade just beneath the knot while tightening so one shallow fold forms in the center. Do not pull hard enough to flatten the tie. A neat knot without a dimple is better than a strained one.
If the length is wrong, undo and retie it with a small change to the starting position. For a visual walkthrough, Charles Tyrwhitt’s four-in-hand tutorial follows the same basic sequence.
Make color and pattern work together
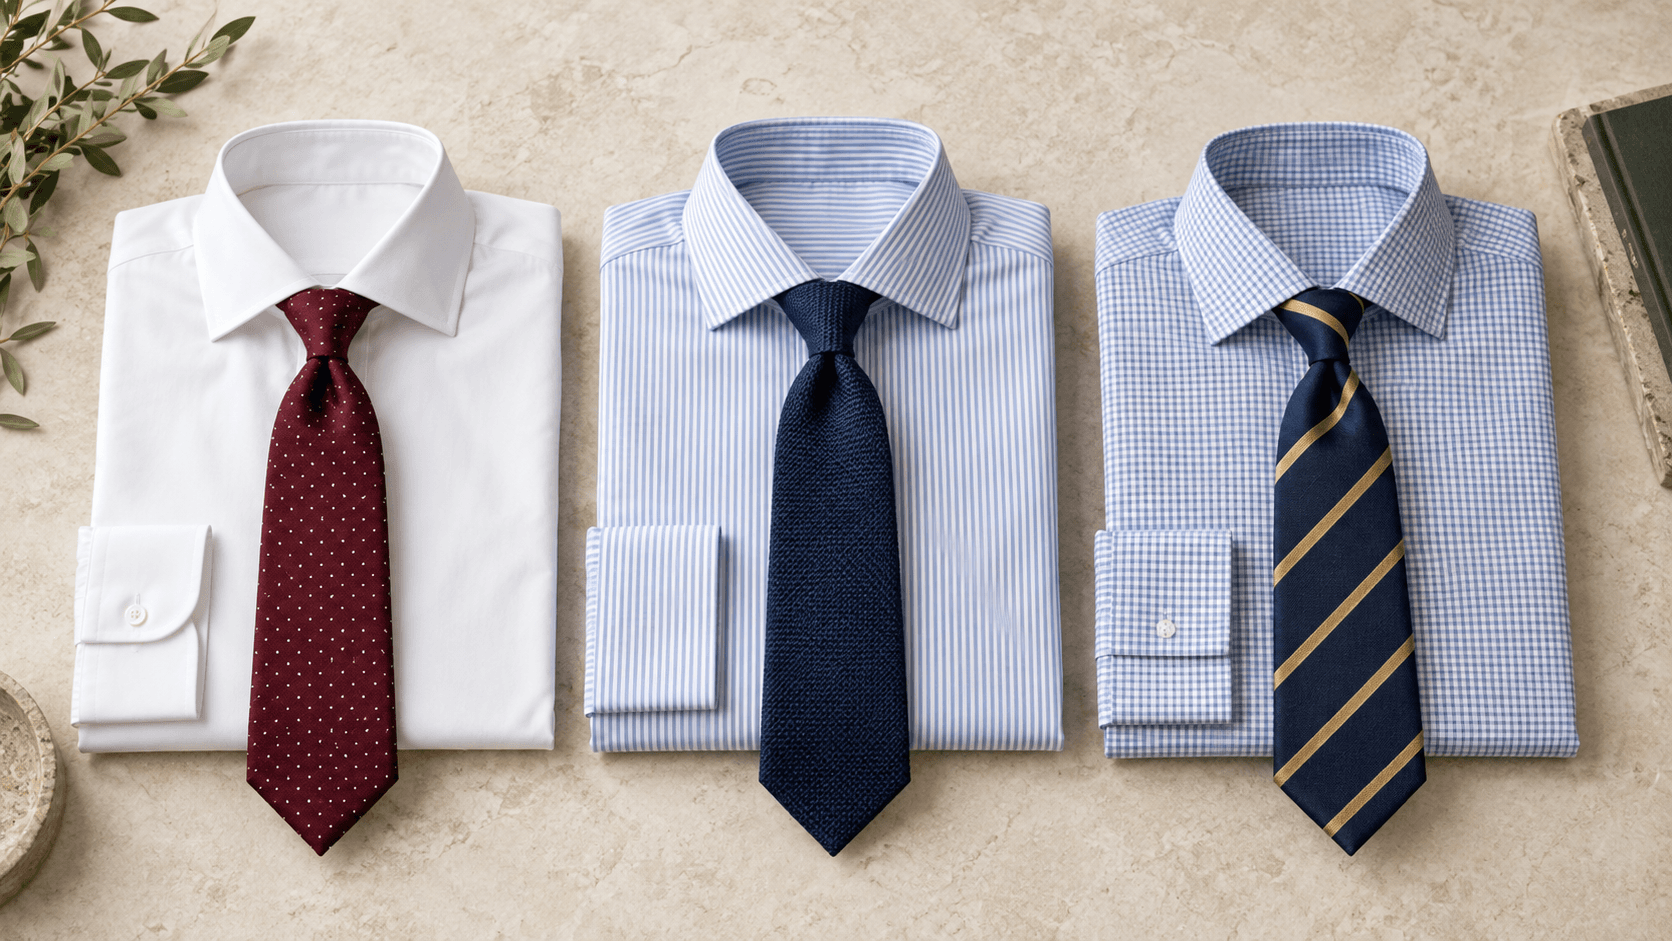
If you want the simplest reliable combination, choose a white or pale blue shirt and a darker tie. Navy, burgundy, forest green and brown are easy directions to explore with navy or gray tailoring. They give the tie enough contrast to be visible without requiring bright color.
One patterned piece is easiest to style. A dotted or striped tie can add interest to a plain shirt. With a striped shirt, start with a plain textured tie. Once that feels comfortable, mix patterns at different scales: fine shirt stripes with a larger tie motif, or a small check with a broad tie stripe. Patterns of almost the same size can compete.
Repeat a color lightly rather than matching everything exactly. A navy stripe in the tie can connect to a navy jacket. A pocket square can pick up a secondary color, or simply be white. Buying a tie and pocket square in identical fabric is unnecessary; some difference in texture or pattern usually looks more considered.
Check the combination in normal daylight. A tie that seems distinct under store lighting may disappear against the shirt at home. The useful question is whether the collar, tie and jacket remain easy to read together.
Choose texture for the outfit
Smooth woven silk is an adaptable place to begin for a suit, wedding or business outfit. A restrained sheen is easier to combine than a very glossy finish. Textured silk, including grenadine, adds interest to a plain shirt without introducing another pattern.
Knitted ties feel more relaxed and often have square ends. They suit an Oxford shirt, an unstructured jacket and tailored chinos, provided the occasion allows that level of informality. Wool and wool-blend ties pair naturally with flannel, tweed and other textured tailoring. Linen or linen blends can work with lighter warm-weather jackets, though they may crease more readily.
You do not need every type. Begin with the tie that works with the jacket and shirt you actually wear most often. Add a different texture when it solves a real gap, such as a softer option for a casual blazer.
Three useful outfit formulas
Use these as starting points for clothes you already own. Each formula links the pieces that make the shirt-and-tie combination work, with an optional finishing detail where it helps.
Office & interviews
Navy or charcoal suit + white shirt + navy tie
A plain shirt lets a dark tie create a clean vertical line. Keep the knot compact enough for the collar, and let the tie’s width echo your lapels.
Make it yours: Start with the suit you own. Choose the shirt by neck and sleeve size, then compare the 3.15-inch tie with the jacket. Add the black belt when it works with your shoes.
Shop the key pieces
 Van Heusen white poplin shirtRegular fit. Select your neck and sleeve measurements; this linked variant is 17½-inch neck, 34–35-inch sleeve.View on Amazon
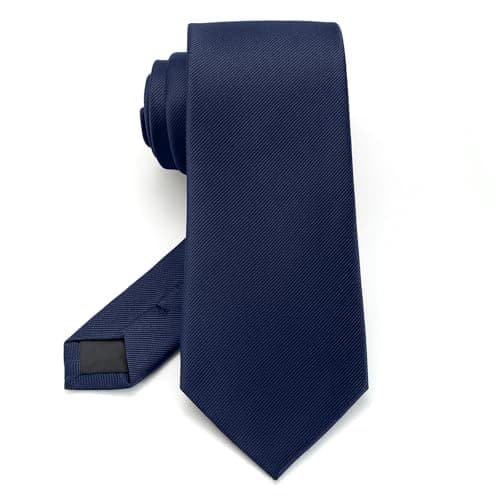 Junmaxroad navy tie3.15-inch width (8 cm). A straightforward starting point for moderate lapels; compare with your jacket before choosing.View on Amazon
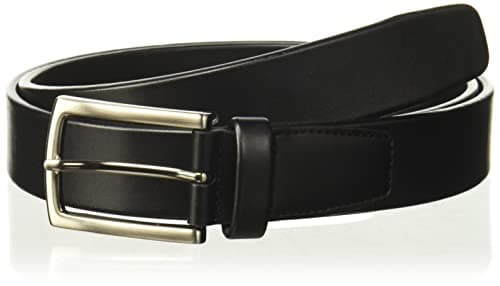 Perry Ellis black dress beltLeather dress-belt style with a simple buckle. Check the size chart; the linked variant is size 34.View on Amazon
Wedding guest
Well-fitting suit + white shirt + burgundy dotted tie
The burgundy tie adds color while the small dots stay easy to pair. A white cotton-and-linen pocket square gives some contrast without repeating the tie pattern.
Make it yours: Follow the invitation’s dress code first. This is a suit-and-necktie formula; black tie normally calls for a tuxedo and bow tie. Reuse the white shirt from the office outfit.
Shop the key pieces
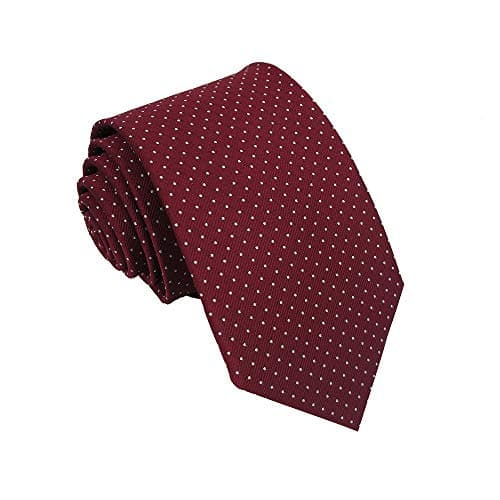 Kebocis burgundy dotted tiePolyester with a small dot pattern. Adds color to a plain shirt; an accessible alternative to a silk tie.View on Amazon
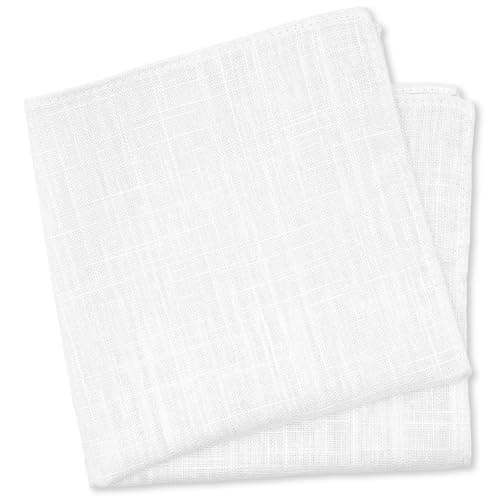 BELLUNO white pocket squareCotton-and-linen blend. A simple white fold works with a patterned tie without copying its print.View on Amazon
Smart casual
Soft blazer + blue Oxford shirt + navy knit tie
The shirt’s Oxford weave and the tie’s knit texture soften the combination. Add tailored chinos or wool trousers, and keep the shirt tucked so the tie feels intentional.
Make it yours: The selected knit is slim: pair it with modest lapels and a smaller knot. If your jacket has broad lapels, use the wider navy tie above instead.
Shop the key pieces
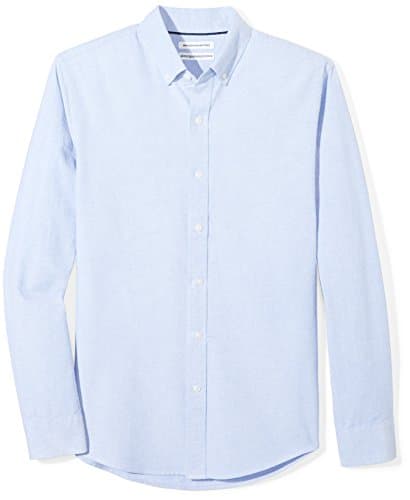 Amazon Essentials blue Oxford shirtRegular fit, 100% cotton. The button-down collar and woven texture suit a relaxed tie outfit; select your size.View on Amazon
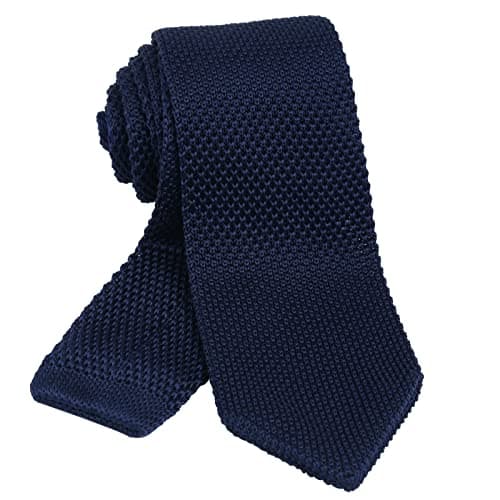 Alizeal navy knit tieSlim knitted design with a square end. A relaxed texture for an Oxford shirt and softer blazer.View on Amazon
?As an Amazon Associate, we earn from qualifying purchases.
Small details that make a difference
A tie bar is optional. If you wear one, fasten both tie blades to the shirt placket so it actually holds the tie in place. Position it around the space between the third and fourth shirt buttons, adjusting for your proportions and jacket opening. It should never extend past the edge of the tie.
Before leaving, check four things: the collar lies flat; the knot sits up comfortably; the tie reaches the waistband; and the narrow blade is not hanging below the front. Look once with the jacket on and once without it. A tie that looks good only under a closed jacket needs another adjustment.
At the end of the day, reverse the knot gently instead of dragging the narrow end through it. Let the tie relax, and follow its care label for cleaning and storage. Avoid assuming that a silk or wool tie can go in the washing machine. A tie does not need aggressive pressing to look cared for.
An optional finishing touch
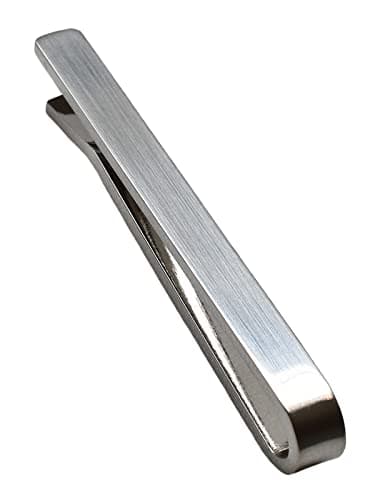 TAVARAT silver-tone tie clipA restrained finishing detail. Check its length against your tie width and clip it through the shirt placket.View on Amazon
?As an Amazon Associate, we earn from qualifying purchases.
Build a small, useful tie collection
If you wear a tie occasionally, one dark textured or subtly patterned tie that works with your best shirt and suit may be enough. If you wear one regularly, add a second dark color and one restrained stripe or small motif. Each should work with more than one shirt.
Before buying, check the width against your lapels, the length against a tie that fits, and the fabric against the occasion. A larger collection cannot fix a shirt collar that does not fit or a tie that always finishes too short. Getting those basics right makes a modest selection much easier to wear.
Frequently asked questions
Where should a tie end?
Aim for the front tip to reach the belt buckle, or the top of the waistband when you are not wearing a belt. Retie it with a slightly different starting length if it ends noticeably above or below that point.
Which tie knot is easiest for everyday wear?
The four-in-hand is a useful first knot because it is compact and works with many shirt collars. Its slight asymmetry is normal. Use a fuller knot when the collar opening and tie fabric support it.
Should my tie be wider than my lapels?
There is no exact measurement they must share, but they should feel balanced. An extremely narrow tie beside broad lapels, or a broad tie beside very slim lapels, creates a deliberate contrast that may be harder to wear.
Can I wear a patterned tie with a patterned shirt?
Yes. Start with one shared color and different pattern sizes. For example, small checks can work with broad stripes. If the combination feels busy, make either the shirt or the tie plain.
Can I wear a tie without a jacket?
Yes, particularly when the setting calls for a shirt and tie. Make sure the shirt fits cleanly and stays tucked, and check the tie length because the entire blade will be visible. A jacket often makes the combination feel more complete.
Do I need a tie bar or a pocket square?
No. Both are optional. A well-fitting shirt, proportionate knot and correct tie length matter more. If you add a tie bar, attach it to the shirt as well as the tie; if you add a pocket square, coordinate rather than copying the tie exactly.
Why does my tie knot look too bulky?
The fabric and interlining may be thick, or the knot may be too large for the collar. Try a four-in-hand, or use a thinner tie. Do not tighten the knot excessively to force it into a small collar opening.